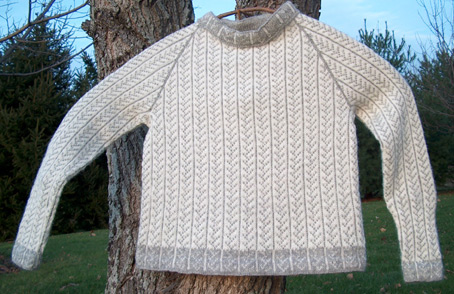
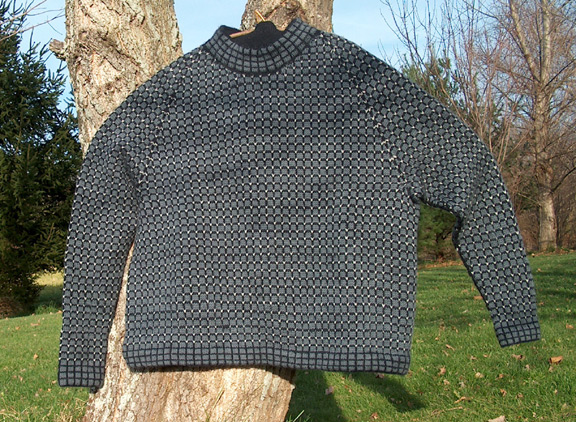
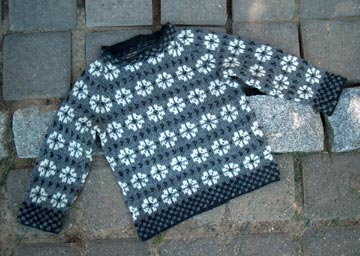
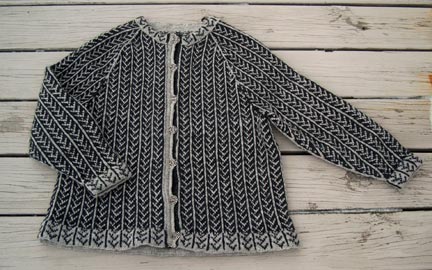
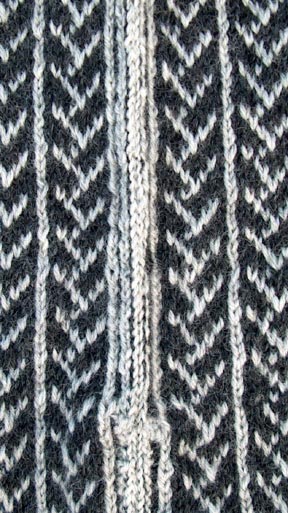
CIC Sweater #5 (final) - Shoulder decreases, Neck finish and Underarm grafting
Topic: percentage knitting
Hi all! When last we left our sweater, it was in three units: a tube of the body, and two tubes of sleeves. Now we will put them all together on the big circular needle that the body is on.
First we need to find, mark and remove the underarm stitches. These few stitches will later be grafted, kitchenered or simply sewn together.
If you know the number of stitches on the body needle, you can figure out the number needed for the underarm. Elizabeth's Percentage System, or EPS, tells us that 8% of the body stitches becomes the underarm. So, if we had 108 sts on the body from our original example, 8% would be .08 x 108 = 8.64 sts. We can round this to whatever we want, so I'll go down to 8 sts. These underarm sts will be found in 4 places in your knitted tubes, so let's go and find and mark them.
First of all, cut off any yarns attached to the sleeve tubes and the body tube. Leave 8" for darning in later.
It is easier to take 18" pieces of thick wool to use as underarm holders. I also like the two-ended holders that Clover and others make.
At the top of each sleeve tube, find the 4 sts before and the 4 sts after the beginning of the round. Remove ONLY these underarm stitches and put them on a holder. Tie the holder yarns ends together. Make sure you do the same for sleeve #2.
Now, on the body tube, find the 4 sts before and the 4 sts after the beginning of the round. Remove these underarm stitches and put them on a holder. You now have to find the underarm sts that are exactly halfway around the body tube and mark them by running your holder yarn or holder through them. Find them this way:
Figure the body number (108) - 2x the underarm sts (2 x 8 = 16)= 108 - 16 = 92. Now take THAT number and divide by 2. 92/2 = 46. So, in our example, there are 46 body sts for the FRONT and 46 body sts for the BACK.
Tie the holder yarns ends together. (you do not have to pull them off the needle JUST YET).
At this point you are now ready to knit the sleeve tubes ONTO the body needle. Make sure the sleeve tubes are on needles that you can knit off of.
Find or make 8 ring markers or safety pins big enough to slide over the needle ends. Make sure two of them are the same bold color (and you can use a red yarn tied onto them OR a magic marker to help). Find two huge safety pins or clip-type stitch holders and a darning needle. Settle yourself down with a cup of something and plan to spend close to an hour to do the following:
1. Clip each sleeve to its correct position on the body, matching the underarm sts on holders. Clip through the sleeve just below the stitches on a holder, and through the body at the same point. You might even like to use 2 clips so it doesn't shift while you knit.
2. Lay the sweater down with the sleeves on the right and the left. At the left sleeve spot where it meets the body sts, use your darning needle to darn in the end of a ball of new yarn onto the body side of the join, invisibly on the inside. This allows you to start knitting with a tight stitch. You will start knitting at this point and it becomes the Beginning of the Round (BOR).
3. Get out your two Bright Markers. Slip the last stitch on the body needle (just before the underarm stitches that you marked and removed) to the needle that is holding the sleeve sts. Place a Bright Marker on the needle that is holding the body sts. With the yarn you darned in, K2 sts TOG (knit two stitches together) from the needle that the sleeve stitches are on. Place another Bright Marker. The stitch you just knit is the BOR.
4. Knit all sts of the sleeve ONTO the body needle, but stop just before the last stitch of the sleeve. Place a marker. Slip the last st of the sleeve onto the body needle. K2 sts TOG. Place a marker. The first (left) sleeve needle should now be empty and put it aside.
5. Knit across the FRONT of the body to 1 stitch before the underarm sts on a holder. Place a marker. Slip 1 stitch to get access to the underarm stitches that are sitting on the body needle. Slide them carefully off the body needle. Slide the slipped stitch on the body needle to the sleeve needle. K2 sts TOG. Place a marker. Knit all sts of the right sleeve ONTO the body needle, but stop just before the last stitch of the sleeve. Place a marker. Slip the last st of the sleeve onto the body needle. K2 sts TOG. Place a marker. The second (right) sleeve needle should now be empty and put it aside.
6. Knit across the BACK of the body until you bump into the BOR marker.
Your sweater is joined! Knit 2 rounds.
SHOULDER DECREASE
You now have a LOT of stitches together on the big circular needle.
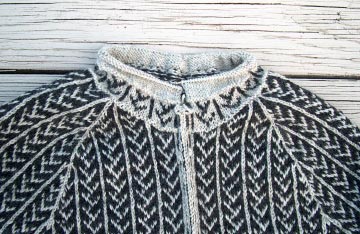
The job now is to gradually and graceful reduce the number of sts to just those needed for the neck opening, and create the top of the sweater. The shaping we will do is called raglan.
To figure out how deep to make the shoulder area, we simply duplicate the measurement we figured for the top of the sleeve. In this case, it was 8" across. So, we'll make the top of the sweater or the shoulder area 8" deep.
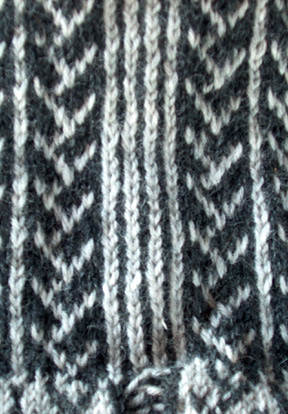
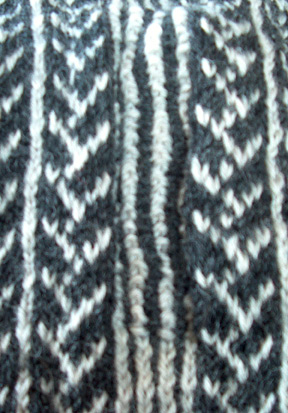
The first thing we need to do is to count how many rounds will make 8". So, take out the sweater body and lay it as flat as you can to find a spot where you can measure 8" high. Do not measure where the ribbing edge sts are, but start an inch above them. Get out 2 pins and a ruler and a big sheet of paper (which will be where you write down the shoulder instructions). Put the ruler on the body of the sweater the LONG way from bottom to top, with the "0" end one inch above the ribbing and put a pin there. Now, at 8", put another pin. Take the ruler away. Find some good light and using the point of a needle, carefully count the rounds between both points. Each round is one "V", or an upside down "V". Write down the number of rounds you count. That is YOUR magic shoulder number.
Raglan shoulder shaping is accomplished by inserting just enough decrease rounds in the knitting to get to the number of sts you need for the neck. Each decrease round gets rid of 8 sts. So, here's some math and an example.
Let's say that our 108 stitch sweater is measuring 32 rounds for 8 inches. We will need to knit a TOTAL of 32 rounds for the shoulder area, including any neckband we will add last. Let's figure the neckband will be 4 rounds of ribbing, so our shoulder area will be 28 rounds TOTAL.
Write down on your piece of paper, from top to bottom, Rounds 1-32. On round 1, write JOIN, and mark it off as done (we already did that). On round 2 write KNIT EVENLY AROUND, and we already did that, too, so mark that off. Leave Rounds 3-28 blank for now. On rounds 29-32, write RIBBING. If YOUR magic number is not 32, adjust the directions below to reflect that, leaving the last 4-6 rounds for ribbing: (you want about an inch of ribbing)
Now the fun begins.
The number of sts on the top of your sleeve is also the same number of sts for the neck! Is that cool, or not? So, find that number. In our example, that would be 48 sts.
Raglan decrease rounds gobble up 8 sts every time you work them. We know we have to get from all the sts on our needle down to 48. So count the sts on your needle. Our example has 164 sts. 164-48 (what we leave on for the neck)= 116 sts to get rid of.
Let's see how close to perfect our raglan decreasing can get us. 116/8 = 14.5. Let's round it down to 14. We have to work a decrease round 14 times between now and the last 4 rounds before the neck.
So, here's what my shoulder instruction paper looks like:
1. Join
2. Knit around
3.
4.
5.
6.
7.
8.
9.
10.
11.
12.
13.
14.
15.
16.
17.
18.
19.
20.
21.
22.
23.
24.
25.
26.
27.
28.
29. rib
30. rib
31. rib
32. rib
If I count all the shoulder rounds left, I have 26 to work with. 14 of them will be decrease rounds. They cannot be all evenly spaced, but that is not a problem with circular knitting! The rule here is to have them wider apart when you start, and closer together at the neck. So, start putting them in every other round starting with round 3, and as you get close to the neck round, put them on every round. I use a pencil to put them in, so I do not have to bother with math at this point, and simply erase what doesn't fit (better than ripping out later!).
So my shoulder direction paper now looks like this:
1. Join
2. Knit around
3. D (means decrease round)
4.
5.D
6.
7.D
8. (as you have fewer stitches, you might need to use larger 16" circular needle to have them fit)
9.D
10.
11.D
12.
13.D
14.
15.D
16.
17.D
18.
19.D
20.
21.D
22.
23.D
24.
25.D
26.
27.D
28.D
29. (change to smaller sized 16" circular needle) rib
30. rib
31. rib
32. rib
Proceed knitting, with your DECREASE rounds worked this way:
KEY:
K=knit
K2TOG= knit 2 stitches together as one (decrease)
SSK= slip first stitch as if to knit, slip second stitch as if to purl, put point of left needle on front of both those sts and K2TOG (decrease)
RAGLAN DECREASE (this is worked 4 times total each decrease round):
*slip marker, knit stitch between markers, slip marker, K2TOG, K across to 2 stitches before next marker, SSK* repeat from * to * 3 times more.
NECK BIND OFF INSTRUCTIONS: I recommend a SEWN OFF BIND OFF to allow for maximum stretch.
SEWN OFF BIND OFF:
Cut yarn leaving 4x the measure around the stitches on the needle. Thread end through darning needle. Cast off as follows: *Darning needle goes through 2 sts as if to purl. Leave sts on needle. Darning needle goes through first st AGAIN, but as if to knit and then that st is dropped off needle* Repeat * * until all sts have been cast off. Sew yarn to first st.
For Frannie:
If you have more sts than the example did,that is NO PROBLEM! That means you will need to do a few more decrease rounds before you reach the neck.
You have 168 sts and your neck needs to be 48 sts.
168-48 = 120. And divide the increases (8 per round) into the number to get rid of: 120/8=15. If you make 15 rounds of decrease, you will arrive at EXACTLY the neck number needed. So, the answer to your question is YES...add in one more round of decrease on your shoulder instruction list CLOSE TO THE NECK. Looks like round 26 will ALSO be a decrease round for you.
FINISHING:
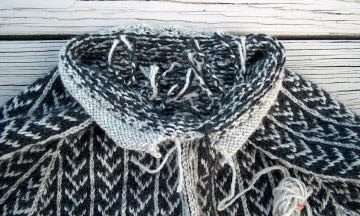
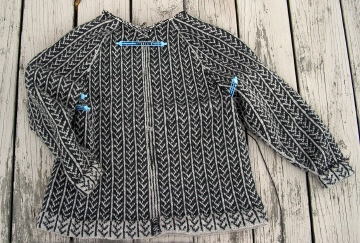
Your circular raglan sweater should be completed to the neck, and bound off with a sewn off bind off. You are left with stitches on holders at each underarm and a yarn end or two (or 7) all over the sweater to darn in.
Darn in those wild ends first. Get them out of the way.
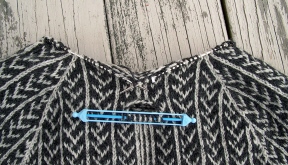
Tackle the underarms, one at a time.
First, get out a darning needle. Look at the yarn ends that are attached to the underarm stitches. Cut them all to 6”. Resist the temptation to use of them to sew the underarms WHILE IT IS ATTACHED.
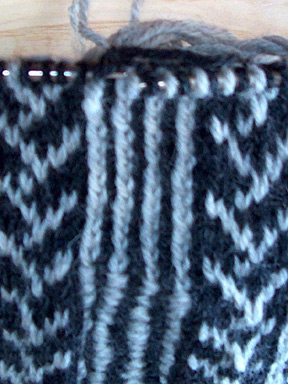
Lay your sweater out with the underarm stitches facing each other like this (second picture down).
Thread a 24” [piece of yarn through a darning needle. Leaving a 6” end, start sewing the bottom and top stitches together, while on the needles, from right to left, like this:
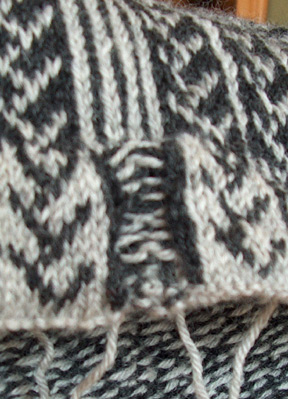
GRAFTING or Kitchener Stitch or Weaving
On front needle:
1. Pass tapestry needle through as if to knit, drop st off needle
2. Pass tapestry needle through as if to purl, leave st on needle
On back needle:
1. Pass tapestry needle through as if to purl, drop st off needle
2. Pass tapestry needle through as if to knit, leave st on needle
That's it. Just remember to keep the tension loose.
When you finish grafting across, you will need to do a little magic to weave in and hide your end and secure the triangular area of knitting that greets you.
Do the same where you started.
You are done! I would love to see pictures of what you have made J
Claudia at Countrywool
Circular Knitting Techniques Retreat in the Catskill Mountains of NY
May 18, 19 and 20, 2007
Posted by countrywool
at 8:09 AM EST
Updated: Friday, 2 February 2007 8:13 AM EST